Monday, June 5, 2017

Scarves

I'm so pleased with how insanely beautiful these scarves turned out. They were definitely a labour of love but worth every minute. The children knew exactly what colours they needed to create the perfect gift for mom. Hope all the mothers loved opening them on Mother's Day.


Crepe paper was pre cut in organic flower shapes

Colours were selected and carefully placed on the scarves

Water, in spray bottles, was generously applied - this was enjoyable

Scarves were hung to dry, then ironed to flatten

Hand stamped envelopes and cards
Gift wrapped, ready for mom, with love

Exploring light

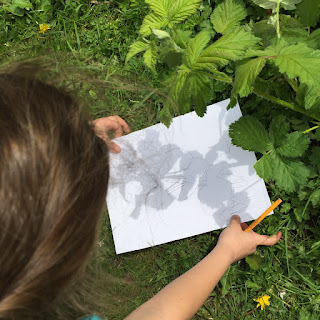
This term in Science our learning has focused on forms of energy, including light, heat and sound. We spent some extra time exploring shadows and natural light outdoors. Here's a glimpse at some of the hands on learning that was captured.


Creating shadows

Looking closely 

Careful observation and relaxing

Living things create shadows in sunlight

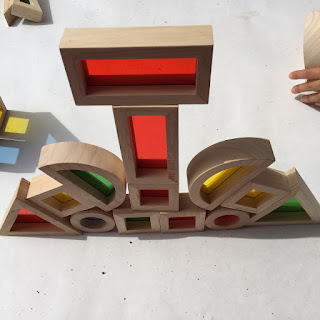
Our new rainbow blocks were a huge hit outside 

Structures emerged

Conversations and decisions were made


The 'light table' was a very popular place for a couple of weeks. All things shiny and reflective were gathered for play and inspiration. Flashlights and kaleidoscopes created magic. Gems stones, metallics and mirrors reflected light. 


We constructed a shadow puppet box to experiment with hand puppets. It was fun making animals with our hands and letting friends guess. The kids enjoyed using the coloured blocks inside as well.


Thursday, April 20, 2017

Spring Bunnies

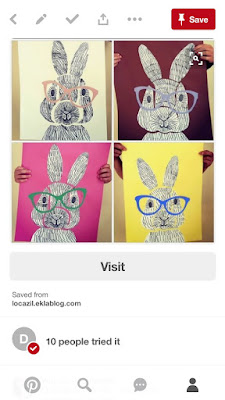
Another Pinterest inspired project, resulted in these gorgeous springtime bunnies. The children enjoyed this art activity immensely partly because of the challenges it presented. Sometimes things look simpler than they are. The finished pieces are beautiful.


I led a directed drawing lesson with the class to support them through the initial drawing of the bunnies. We started by drawing a curved hill shape for the body and worked our way up. The head was probably the most challenging, but thinking of the head shape of a ninja turtle seemed to help (their connection). We used masking tape to trace and circle off the nose and mouth area and the kids were able to add bunny ears with little instruction. We discussed scale and the importance of having each part just the right size.

The second step involved drawing pencil guide lines softly and evenly in the bunnies. I knew this would be difficult, getting the spacing just right so I completed this step for them when they were out for recess (took less than ten minutes).


Then it was time to pull out the sharpies. We focussed on the eyes first, colouring them in and adding rays of sunshine around them. The nose and mouth were coloured boldly before each ring was lined. We referred to them as the large donut, medium donut and the tidbit in the middle. Finally it was time for the lines, and more lines and more. They had to fill each section in using vertical lines, trying to keep them roughly the same distance apart. We had lots of tired arms!


The final shape the bunnies take is quite amazing. We didn't outline the bunnies, rather filled the space inside them. Pretty cool effect. Instead of the glasses in our inspiration piece, I decided on roses. So, the last step involved rolling paper roses from brightly coloured construction paper. Leaves were cut from crepe paper in two shades of green. They add the perfect pop of colour and say spring.


Sunday, April 9, 2017

Spring Blossoms

Spring blooms offered an invitation to slow down, ponder and look closely. The most delightful, vibrant, and true to form pussy willow and forsythia drawings and paintings were born. Beautiful.


Circle Roses

With the support of our amazing PAC (let me repeat - AMAZING) we are working on an art card fundraiser this spring to celebrate our budding young artists. The teachers were chatting about possible card designs and ideas for weeks. Each settled on a design and every student completed a bright, spring painting for their card. With help from Ms. Terretta, each piece of art will be lovingly scanned and soon be ready for card production. Sample card images and ordering information will be sent home in the next couple of weeks. We're beyond excited to celebrate our students' work in such a unique and professional format. Families can share their children's art with friends and family near and far with these treasured keepsake greeting cards.

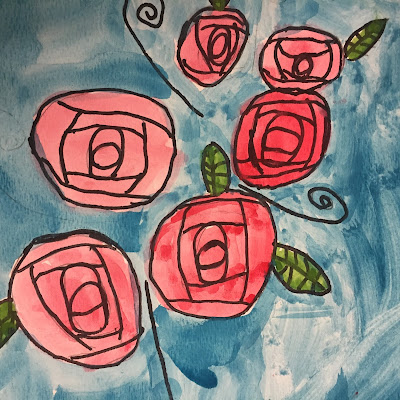
After much contemplating, I decided on a simple, but detailed circle rose design that I stumbled across on Pinterest from Art Projects for Kids. Here is the link and how to: http://artprojectsforkids.org/how-to-draw-circle-roses/. I immediately loved the simplicity of the design, the bold colours and the challenge of learning a new drawing technique would bring.

The class spent about half an hour  practicing the circle rose technique in their drawing books one afternoon. Were they ever focused. The following day, on a sheet of watercolour paper, with their practice roses in view, they set off to draw three large and three small roses. They added leaves and a few swirls before outlining their work in black sharpie.


They were most excited to bring their drawings to life with watercolour. With an assortment of reds, blues and greens (maybe a little pink and purple too for good measure) they painted their roses, leaves and backgrounds. The images below speak for themselves. Gorgeous. I cannot wait to see them as greeting cards.


Spring Haiku

Every month I change up the poems on our flip chart. The only predictable bit is the very first poem, which is Maurice Sendak's, Chicken Soup with Rice, for that particular month. They read with a familiar rhythm and rhyme and they're well loved by the children. We have Sendak's book of poems in both BIG book format as well as the regular little version (it's a mini). There's also a random mix of good seasonal and thematic poems of my choosing as well.

In March, one of the poems was a haiku, which got us thinking and talking about poems that had rules. We explored and played with syllables in words. I introduced more haiku to them and asked them to identify a common theme between them all. Nature. With wet weather in the forecast all week, rain seemed like the perfect topic to focus our own haiku writing on.

We revisited this beautiful book, Raindrops Roll, by April Pulley Sayre, that we'd read during our Sky Inquiry. It's a refreshingly fun and fascinating exploration of rain, raindrops and the water cycle. The stunning photography and descriptive writing inspired the collection of rain words on the chart paper below. We clapped out the syllables of the words before setting off to write our own three line poems, with 5 -7 -5 in mind. The goal was to have our poems paint a picture with words. Results, impressive. Collaboration, equally as impressive. Enthusiasm and interest, beyond impressive.


We stopped to share our poems as we wrote, to inspire ideas in one another. Some completed one, while others wrote multiple haikus. They helped each other when they got stuck and needed to revise or rewrite a line to lose or gain a syllable. It really was a group effort. In the afternoon, after a quick introduction to Pic Collage (love), they set off to publish their haiku poems and upload them to Seesaw. Let me just say, boy can this group can navigate an iPad like I've never seen. They're quick to learn and creative in their efforts. Here are a handful of their haikus.